One day I was browsing the internet and saw a 7-segment LED clock. I liked it right away but the one I saw had two issues – too small and too expensive. So I figured I build my own version. The code of the Android app and for the NodeMCU is on GitHub.
Overview
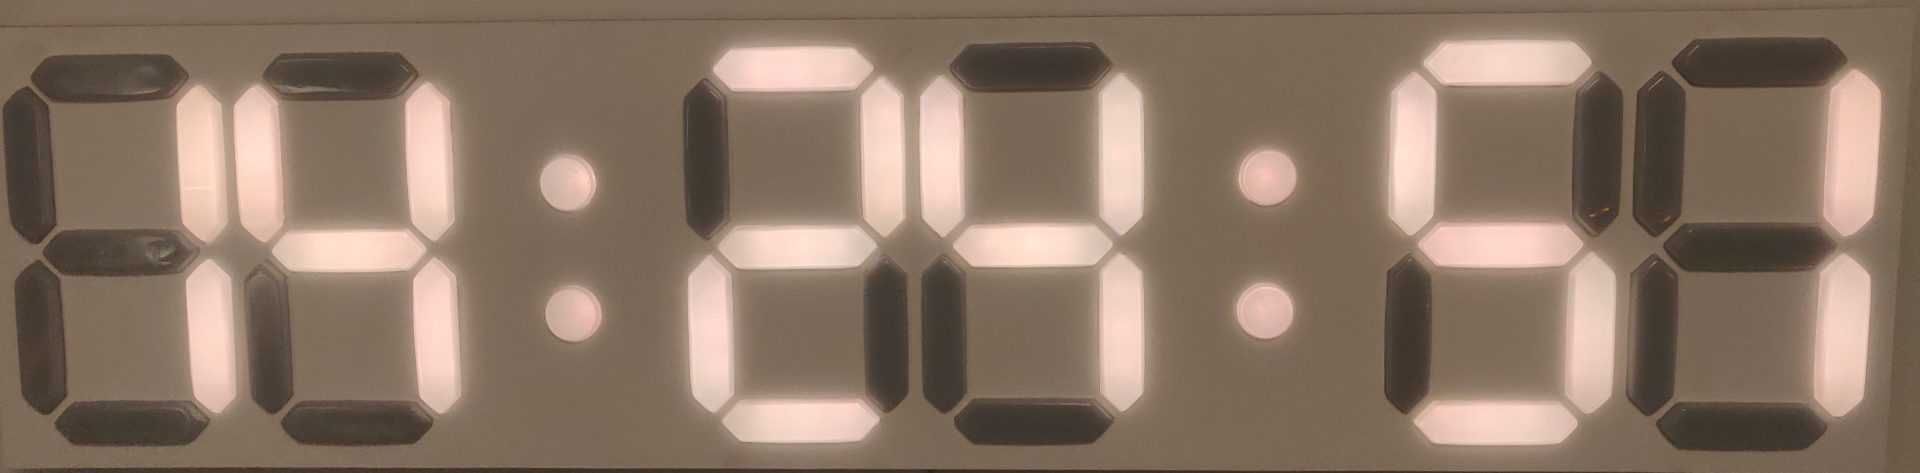
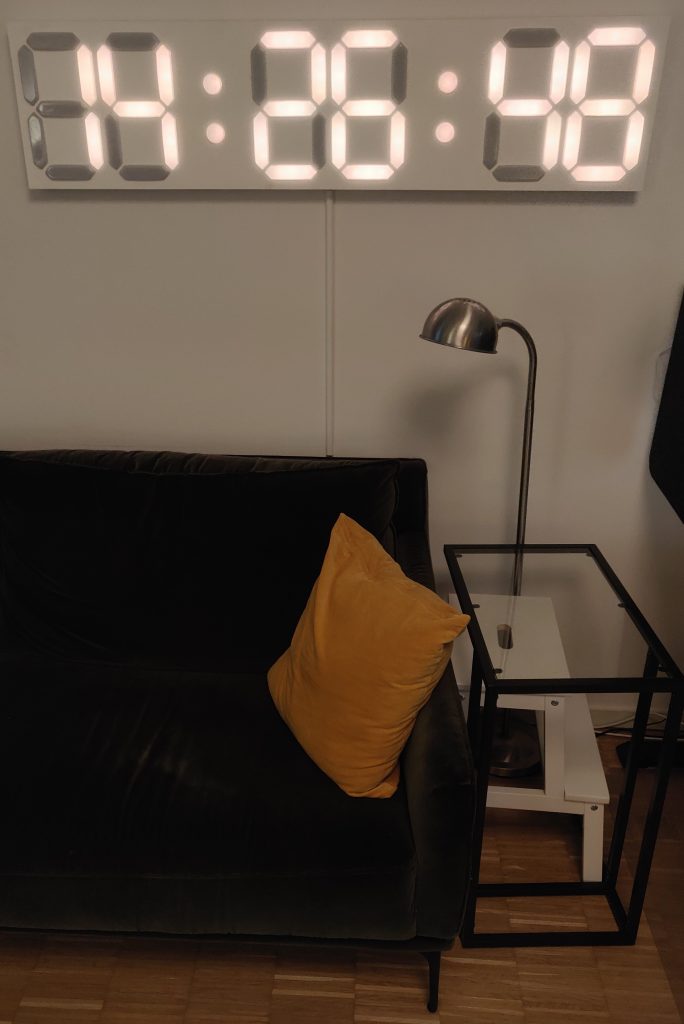
The dimensions of the clock are 128 x 30 x 4 cm and it’s installed above our couch.
The brain of the clock is a NodeMCU with an ESP8266. Each segment has 3 WS2812 LEDs. They are individually addressable and connected in series. To dim the LEDs a Light Dependant Resistor (LDR) is built in to measure the current brightness. The microcontroller runs a web server to do two things:
- get the current time of an NTP server
- Rest API to control the clock remotely
The clock has the following options which are configurable via Query string.
- turn LEDs on and off
- turn automatic dimming on and off via the light sensor, and if applicable set brightness manually
- adjust the colors in the RGB spectrum
- turn party mode on and off, every LED has a random color every couple of milliseconds
- turn fading mode on and off. all LED fade from one color to different colors on the RGB spectrum
Each mode is exclusive and they can’t be combined. If one of a higher order is enabled it’s the one you’ll see on the clock. The order is the same as in the previous listing.
Build Process
The front of the clock is laser cut. Each segment has a plastic insert which I heated and then formed into shape.
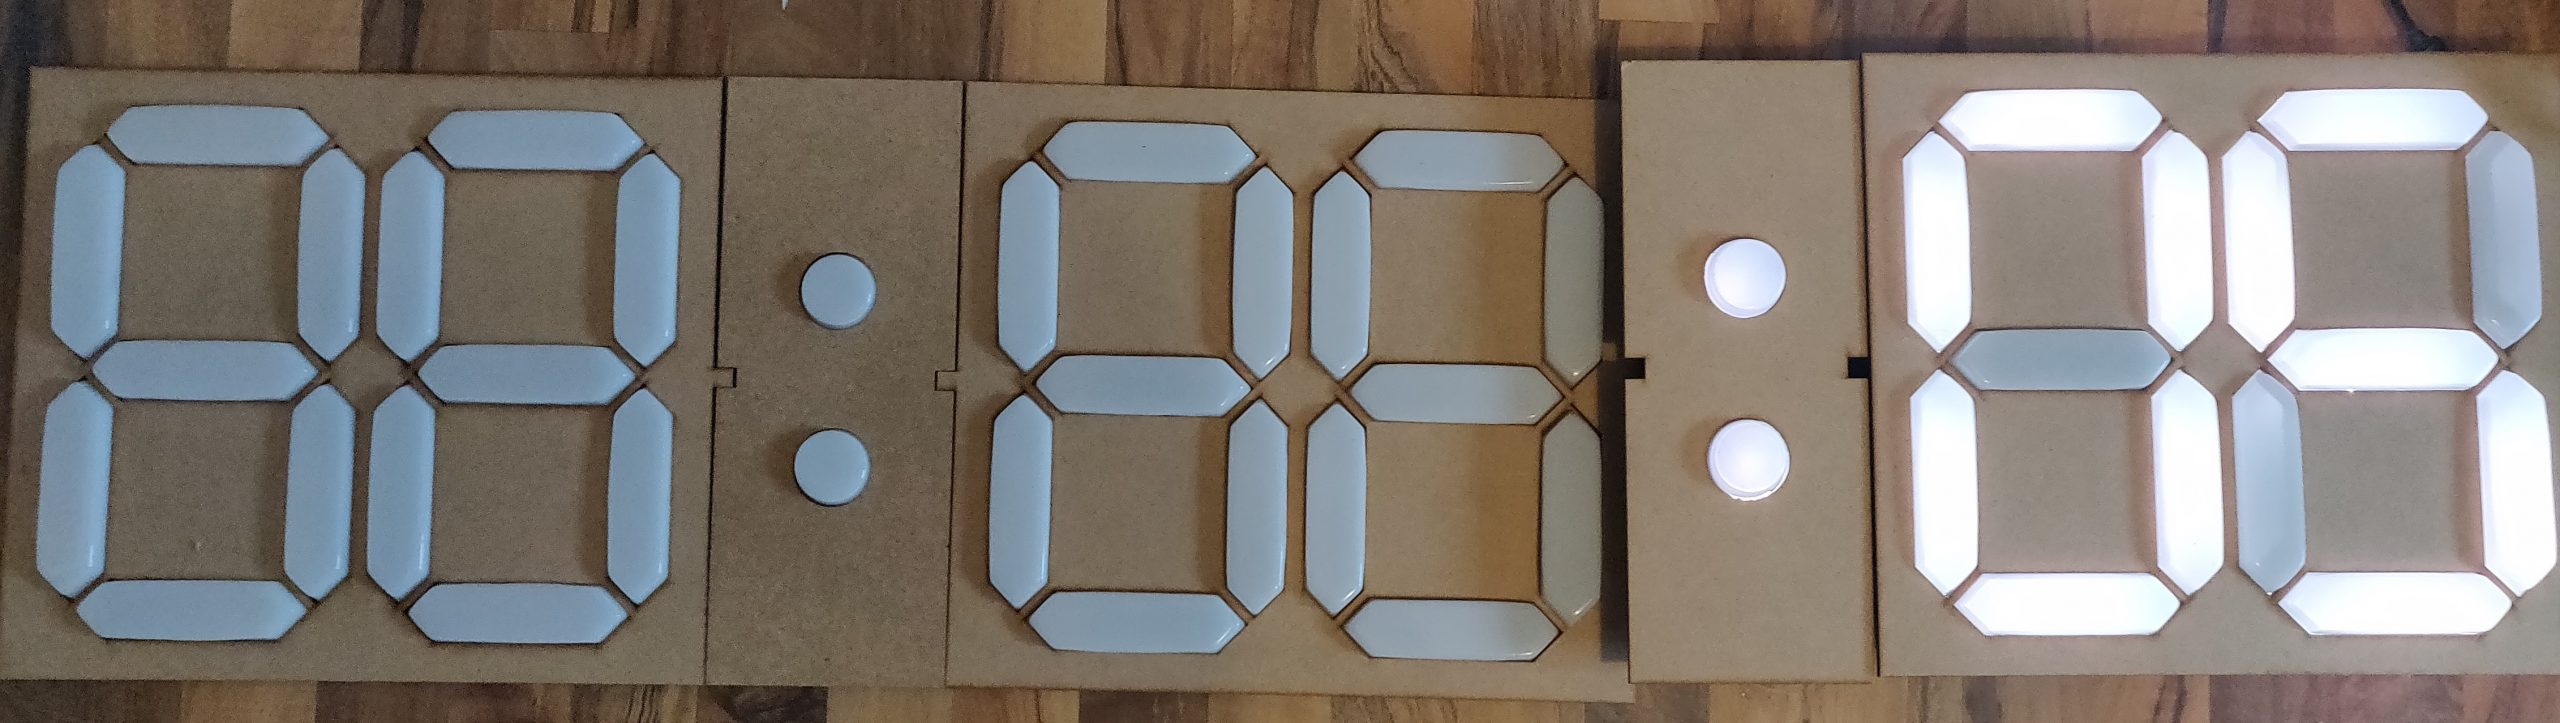

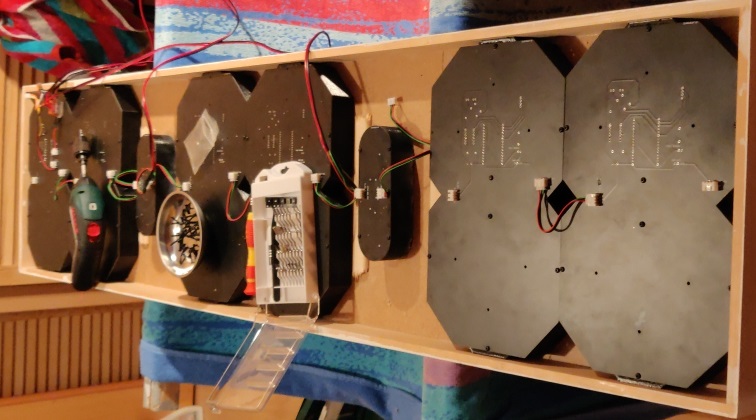
Behind every number is a 3D printer shape to contain the light of each segment. In addition, it builds up the distance between the LEDs and the plastic diffusor to prevent single light spots. Each number has its own PCB with soldered LEDs. The first one from the left has the NodeMCU and a logic level shifter. The shifter is needed because the LEDs run on a 5V logic level and the microcontroller provides 3.3V.
In the next picture, you can see an RTC which I got rid of and replaced it with software functionality – I’m updating the time more frequently. In the end, I painted the front white and filled the gaps in the segments.

App
I created an app to control the clock via my phone. At the time I was doing lots of Angular projects so it was the obvious choice. With the ionic framework, I converted the angular app to an android app. I can do a GET request to the microcontroller to retrieve all current parameters. The JSON looks like the following:
{
  "NAME": "WallClock",
  "STATE_STATUS": 1,
  "RED_RGB": 204,
  "GREEN_RGB": 143,
  "BLUE_RGB": 42,
  "BRIGHTNESS_STATUS": 0,
  "BRIGHTNESS_VALUE": 63,
  "TIMEZONE": 1,
  "TEMPERATURE": 0,
  "FADE_STATUS": 0,
  "FADE_VALUE": 90,
  "PARTY_STATUS": 0,
  "PARTY_VALUE": 13
}
As said previously each of them can be configured via query string. So the microcontroller receives the request, performs all necessary actions, and sends back the updated configuration. This allows any client to check if the update of parameters was successful.
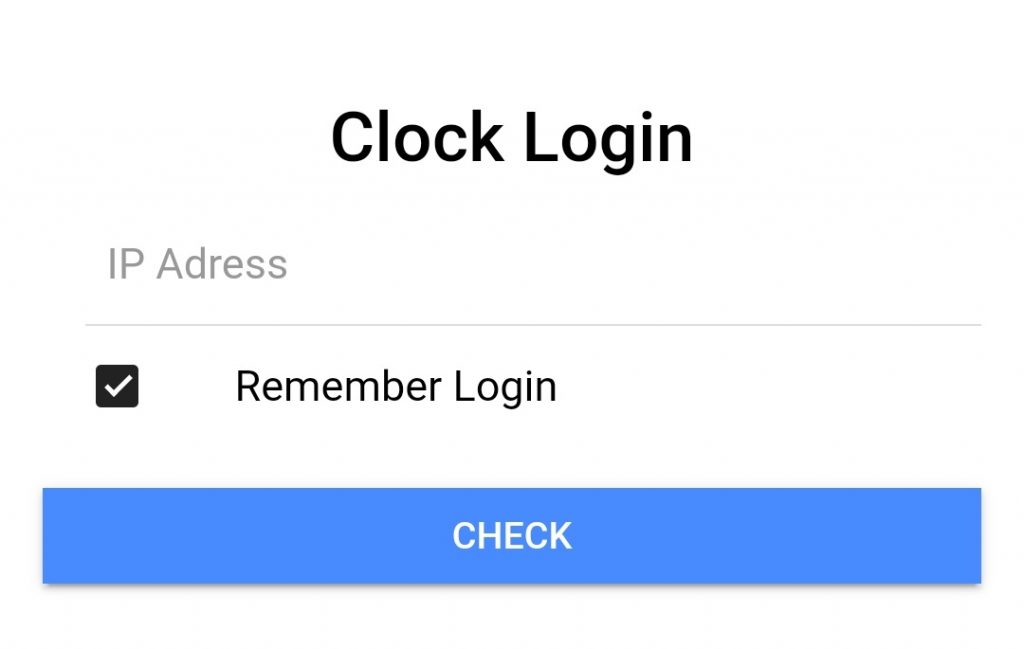
First I login to the app via the IP address of the clock. Once logged in the app safes the address until a request times out. Since I set up PiHole in my network I run local DNS for the clock to be accessible via led.clock which makes it easier (here I describe my network setup). The app does a GET request and fetches all information from the clock. If the name in the JSON matches the expected value the app retrieves all parameters and proceeds to the configuration screen where it sets all parameters as they are on the clock.
On the configuration screen, all parameters can be set and once changed are sent to the clock immediately. Currently, party and fading modes are not included in the app yet, which I plan to do at some point.
Conclusion
The clock turned out great and is a highlight in our living room. Before building the clock I didn’t know about HTTP and how requests work. Coding this project helped me to get started with the basics.
To save energy and have a better feeling when everybody left the apartment I turn the clock off as soon as nobody is at home anymore. The concept is similar to my blog post about monitoring doors and windows (described here) and uses Home Assistant. It performs a request as soon as everybody left to turn off the clock. As soon as a member of the household connects back to the WiFi home assistant turns the clock back on.